**This post contains links to Amazon products. As an Amazon Associate I earn from qualifying purchases.**
My children both announced that they wanted to try a new way of eating. They had obviously talked about this before they came to me. They chose to follow a diet plan that Christopher followed his junior year of high school. He lost about 60 pounds in 3 months. It’s not just an eating plan, but a workout plan as well. The workout is on them.
The food, of course, is up to me!
The plan they are following is a really clean way of eating. You cook with little to no salt or oil and you use really lean proteins.
Here’s a basic breakdown of the eating plan:
Breakfast:
• Scrambled eggs
• Oatmeal
• Black coffee or tea
Around 10:
Choice of:
• Greek yogurt
• Banana
• Fruit cup
• 1/4 cup of almonds
Lunch:
Meal prep box
Around 2:
Choice of:
• Greek yogurt
• Banana
• Fruit cup
• 1/4 cup of almonds
Dinner:
Meal prep box
Around 8:
Choice of:
• Greek yogurt
• Banana
• Fruit cup
• 1/4 cup of almonds
The basis of this way of eating is eating small meals throughout the day to keep your metabolic rate higher.
So the small meals or snacks kind of take care of themselves. The actual meals are the only real work you have to do. I don’t mind making breakfast every morning, but I choose to meal prep all the lunches and dinners.
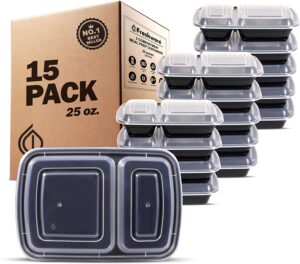
You really don’t need any special equipment for these meals. You just need a couple of big sheet pans, a skillet, a really big bowl, and some meal prep containers. I chose these:

Refrigerator, freezer, microwave, dishwasher safe – and they last for months! They really are my favorites. I also buy the round ones and the rectangular, single compartment ones. But I chose these for this set of meals because I wanted to keep the protein separate from the grain and the vegetables.
Now, even though this post does have a “recipe,” it’s actually more about the process of my meal prep. This is designed to help you save time – and dishwashing!
Clean Eating Meal Prep
- 6 large chicken breasts, cut into four strips each
- 3 pounds of ground turkey
- 2 pounds of baby carrots
- 6 bell peppers, cored and seeded, cut into strips
- 32 oz. of broccoli florets
- 16 oz. of sliced mushrooms
- 6 cups of instant rice
- 6 cups of water
You’re only going to use two big sheet pans, but you’re going to use them each more than once. Whatever you have on the pan, you spray with baking spray and sprinkle with a salt-free seasoning. I chose Mrs. Dash Onion and Herb on everything except for half the chicken, for which I chose Mrs. Dash Southwest Chipotle. If you are not worried about your salt intake, you can use whatever seasoning you prefer.
You will need to prepare both baking sheets before you start. I use silicone baking mats in mine, but you can either line your sheets with parchment or foil – or just spray them each time with baking spray. I just find the silicone baking mats to be easier. You do not wash the pans in between batches.
Ready, here we go!
Preheat oven to 425 degrees.
Sheet Pan #1: 32-oz. bag of broccoli florets
Sheet Pan #2: 2 pound bag of baby carrots (whole) & 6 bell peppers (julienned)
Spray both with baking spray and sprinkle with seasoning.
Bake for 30 minutes. Take broccoli out. Pour into a VERY large bowl.
Sheet Pan #1: 16 ounces of mushrooms.
Spray with baking spray and sprinkle with seasoning.
Bake for 20 minutes. Remove both pans and pour all into bowl with broccoli and stir gently to combine.
Slice 6 large chicken breasts into four strips. Divide equally onto the two sheet pans.
Spray with baking spray and sprinkle with seasoning. I used Onion and Herb on one pan and Southwest Chipotle on the other.
Bake for 25 minutes.
While chicken is cooking, combine 3 Solo cups full of instant rice with 3 Solo cups of water in a large, microwavable bowl. Yes, I measured with a Solo cup. It was easier. If you don’t have Solo cups, measure about 6 cups of rice and 6 cups of water. The basic rule for most instant rice brands is to use equal parts rice and water.
Microwave for 10 minutes.
In a large skillet, brown 3 pounds of ground turkey. I didn’t use any oil. You can, if you feel the need. My turkey started to stick a little, so I added about 1/2 cup of water. Season with same seasoning as the rest of the food. Cook until browned and all moisture has cooked from the pan.
Allow all food to cool before dividing into meal prep containers.
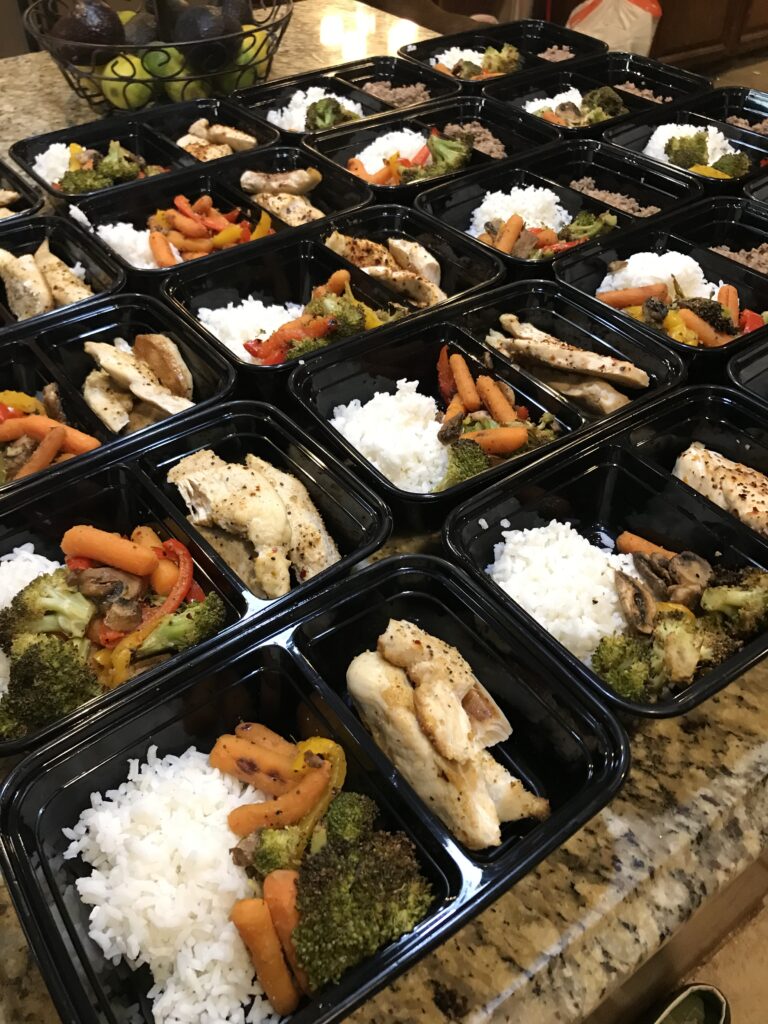
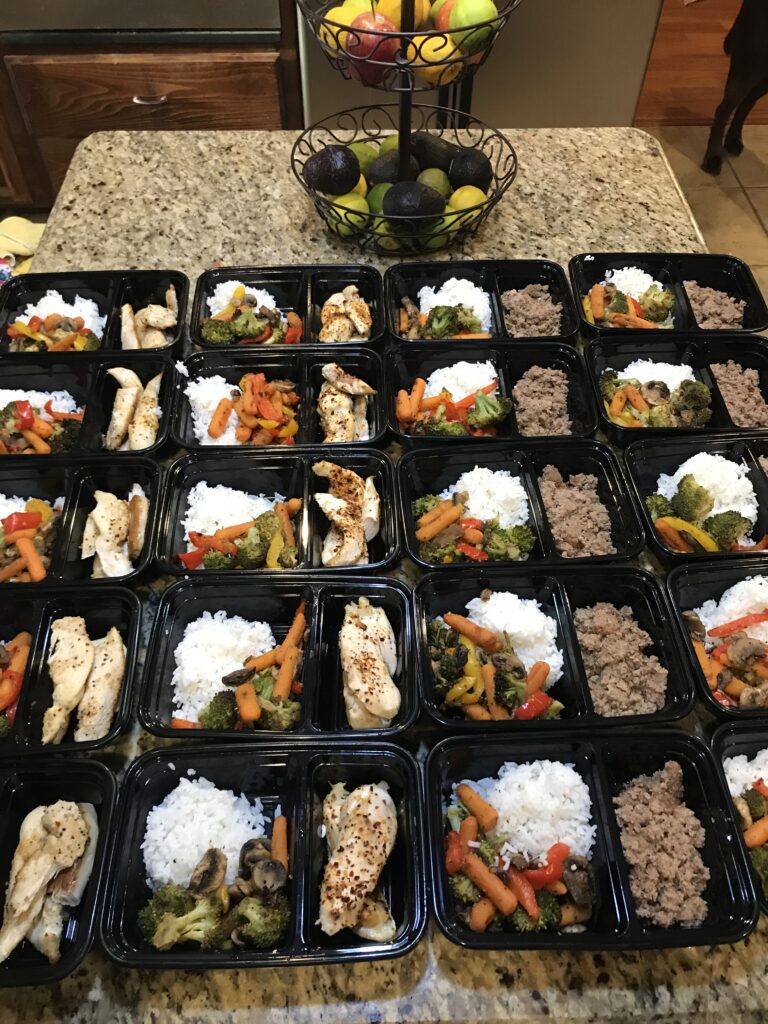
Divide rice and vegetables equally among 20 meal prep containers. I used a half-cup measuring cup for the rice, but you can just eyeball it. I put a big cooking spoonful of veggies in each container. I placed about two pieces of chicken into 10 of the containers and a 1/2 cup of cooked ground turkey in the other ten.

Snap the lids on and stack in the refrigerator.
My kids just grab a box, heat it up, and eat. When Christopher was in school, he didn’t heat the boxes. I heated them in the morning and he took them in an insulated lunch tote. They weren’t piping hot when he ate them, but they weren’t cold either. Elizabeth may actually choose to eat small meals (snacks) at school and eat a meal as soon as she gets home at 2:30. We’re still discussing that.
This is a really good, clean eating plan. I’m not a dietitian by any means, but it’s a common sense way of eating. Some mornings, the kids can choose 2 whole grain waffles topped with a little nut butter. And I may swap out the rice with quinoa sometimes. You can totally use ground beef instead of turkey, but beef prices are INSANE right now! You can use either fresh or frozen chicken breasts. There is a little wiggle room on some things.
I hope I’ve given you a little insight into how to save time and energy while making a whole week’s worth of food! It only took me a little over 2 hours to make all of their meals!

Recent Comments